
The Milk Trick That Changes Everything
Great coffee can fall apart in the last few seconds. The espresso might be right, the cup might be ready, and then the milk goes bubbly, stiff, or flat. This is where silky texture either happens or disappears.
For flat whites, lattes, and cappuccinos, the difference is smaller than most people think. It comes down to a few controlled moves: the right milk, the right angle, the right amount of air, and knowing exactly when to stop.
The goal isn’t foam, it’s texture

The milk should look smooth and glossy, almost like whipped cream. Not airy and bubbly. Not rough on top. The aim is microbubbles so fine that the milk stays silky even as it settles.
That texture is what makes latte art possible, but it also changes the drink itself. A flat white, latte, or cappuccino all rely on this same idea, just with different amounts of air added early in the process.
Start with the milk and jug
Why full cream milk is the easiest place to begin
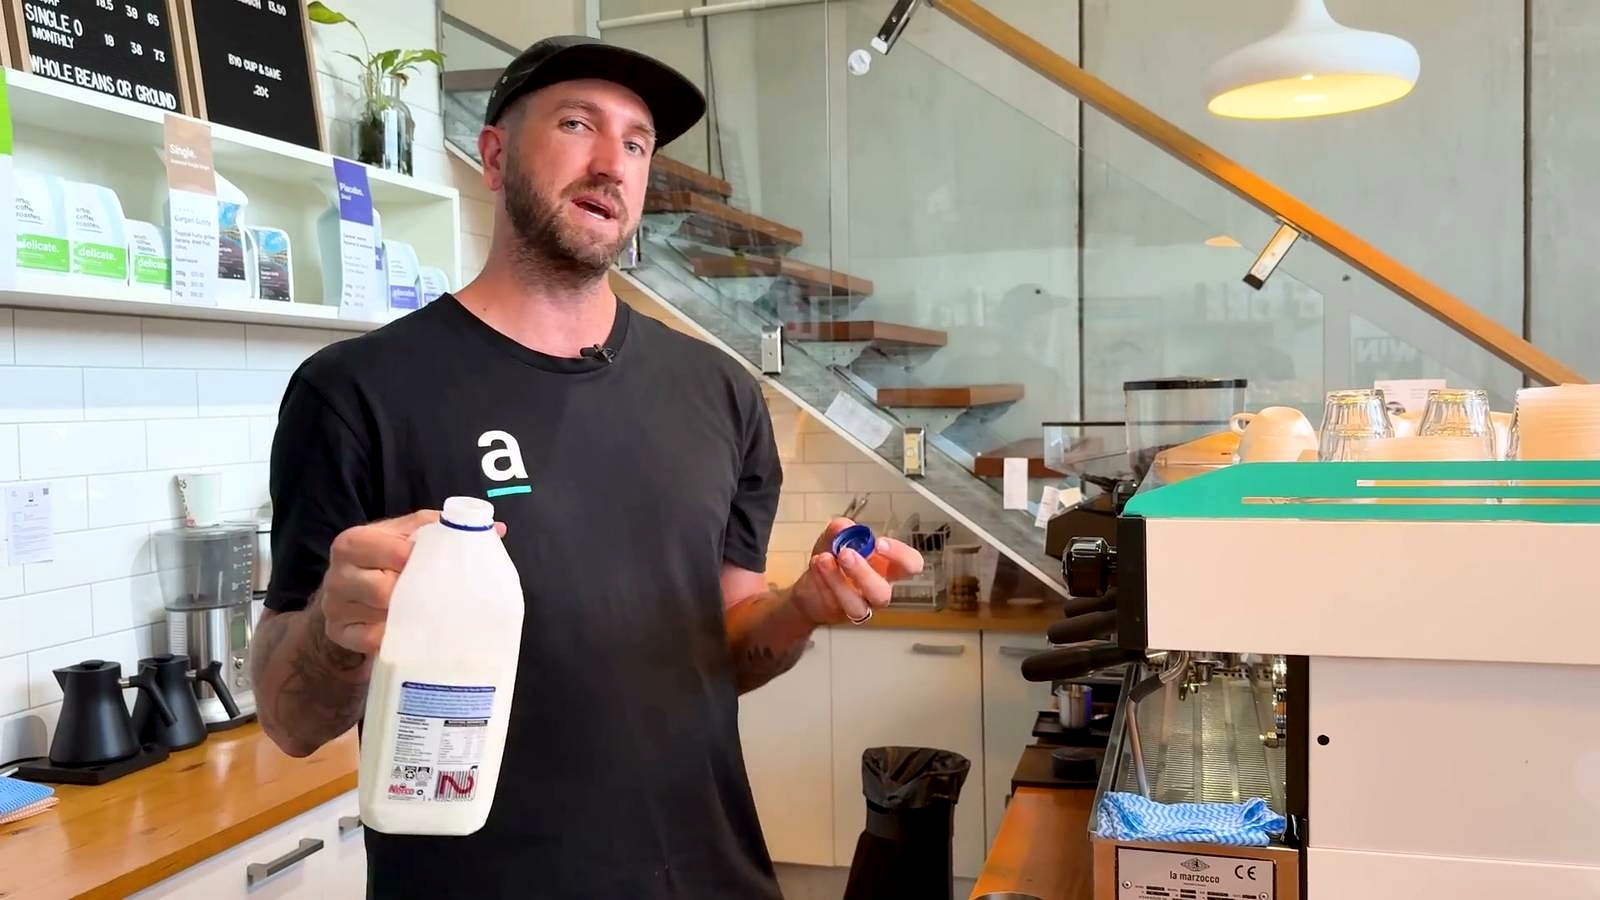
Full cream milk is the go-to starting point because it has the most protein and gives the best outcome for latte art milk. Other options like almond milk can be used, but they are more challenging.
The pitcher setup that helps
A 600 ml pitcher is used as the starting point. Fill it to the bottom of the spout. It’s a simple move, but it helps create the right angle for the steam wand and gives a reliable starting level.
- Use a 600 ml pitcher
- Fill to the bottom of the spout
- Start with full cream milk for the easiest result
The three things that matter most

There are three main components to steaming milk well:
- Position
- How long you add air
- Temperature
1. Position creates the spin
Before anything else, purge the steam wand. You don’t want water going into the milk.
Then focus on angle. Pull the steam wand up and work with roughly a 45-degree angle. The tip should sit just under the milk, aimed so the milk can move and spin. The milk needs a vortex. If it doesn’t move, the texture won’t come together properly.
The jug should stay flat. There’s no need for dramatic tilting or awkward body positioning. The point is simple: find the position that gets the milk moving all the way to the top.
2. Air time changes the drink
This is where flat white, latte, and cappuccino begin to separate.
When the steam starts, slide the wand down so the tip reaches the surface of the milk, then lift it back up. That short moment is when the air is added.
On a powerful machine, that might only take a few seconds. On a home machine, it can take much longer. The rule stays useful either way.
- Flat white: 2 seconds
- Latte: 4 seconds
- Cappuccino: 6 seconds
On a home machine, that pattern may stretch out more like 8, 12, and 16 seconds. It depends on the machine, but the sequence still gives a strong guide.
Once the air is in, stop adding more. Bury the tip slightly and let the milk spin. That spin helps break down bubbles and smooth everything out.
3. Temperature is felt, not guessed
Keep your hand on the jug as the milk moves from cold to warm to hot. When it reaches the point where you can no longer comfortably hold it, turn the steam off.
If the drink feels too hot when you taste it later, stop earlier next time. If it isn’t hot enough, give it a little more time. Every machine behaves a little differently, so this hand test becomes the easiest guide.
How each milk style changes
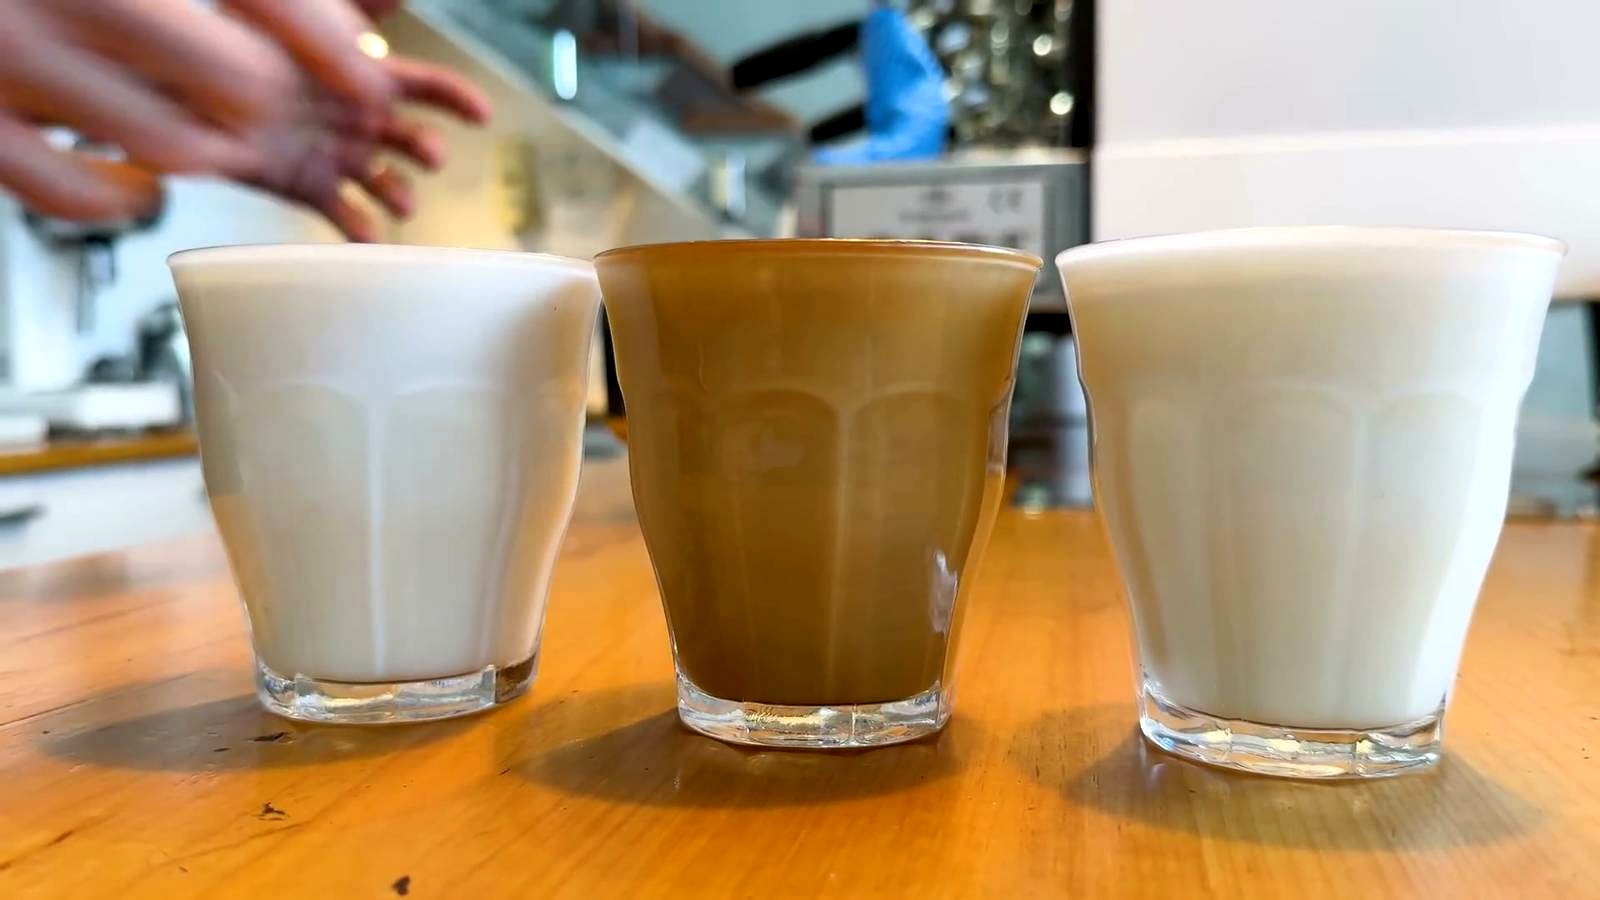
Flat white milk
For a flat white, only a small amount of air is needed. After that, the focus is on spin and integration. The result should be thin, smooth milk with just a light layer of froth.
Latte milk
A latte sits in the middle. It gets more air than a flat white but less than a cappuccino. The texture should still stay silky and smooth, ready to blend cleanly with espresso.
Cappuccino milk
The cappuccino gets the most air, but that doesn’t mean it should become coarse. It should still look glossy and textured, not dry or bubbly. Even with more froth, the finish should stay smooth.
As a general rule, the froth layer is often described like this:
- Flat white: 5 ml
- Latte: 10 ml
- Cappuccino: 15 ml
The small mistakes that ruin good milk

Don’t go straight on
If the wand is straight on, the milk won’t spin properly. The vortex matters. Without it, bubbles stay bubbles.
Don’t stop before the steam stops
Let the steam finish before pulling the jug down. Pulling away while the steam is still winding down adds bubbles to the top and ruins that silky finish.
Don’t leave the froth sitting on top
If bubbles rise to the surface, tap them out lightly. Then swirl or spin the milk so the froth integrates back into the liquid. That blending step is essential.
Always clean the steam wand
After steaming, clean the wand. It’s a basic habit, but it belongs to the process every time.
What perfect milk should look like
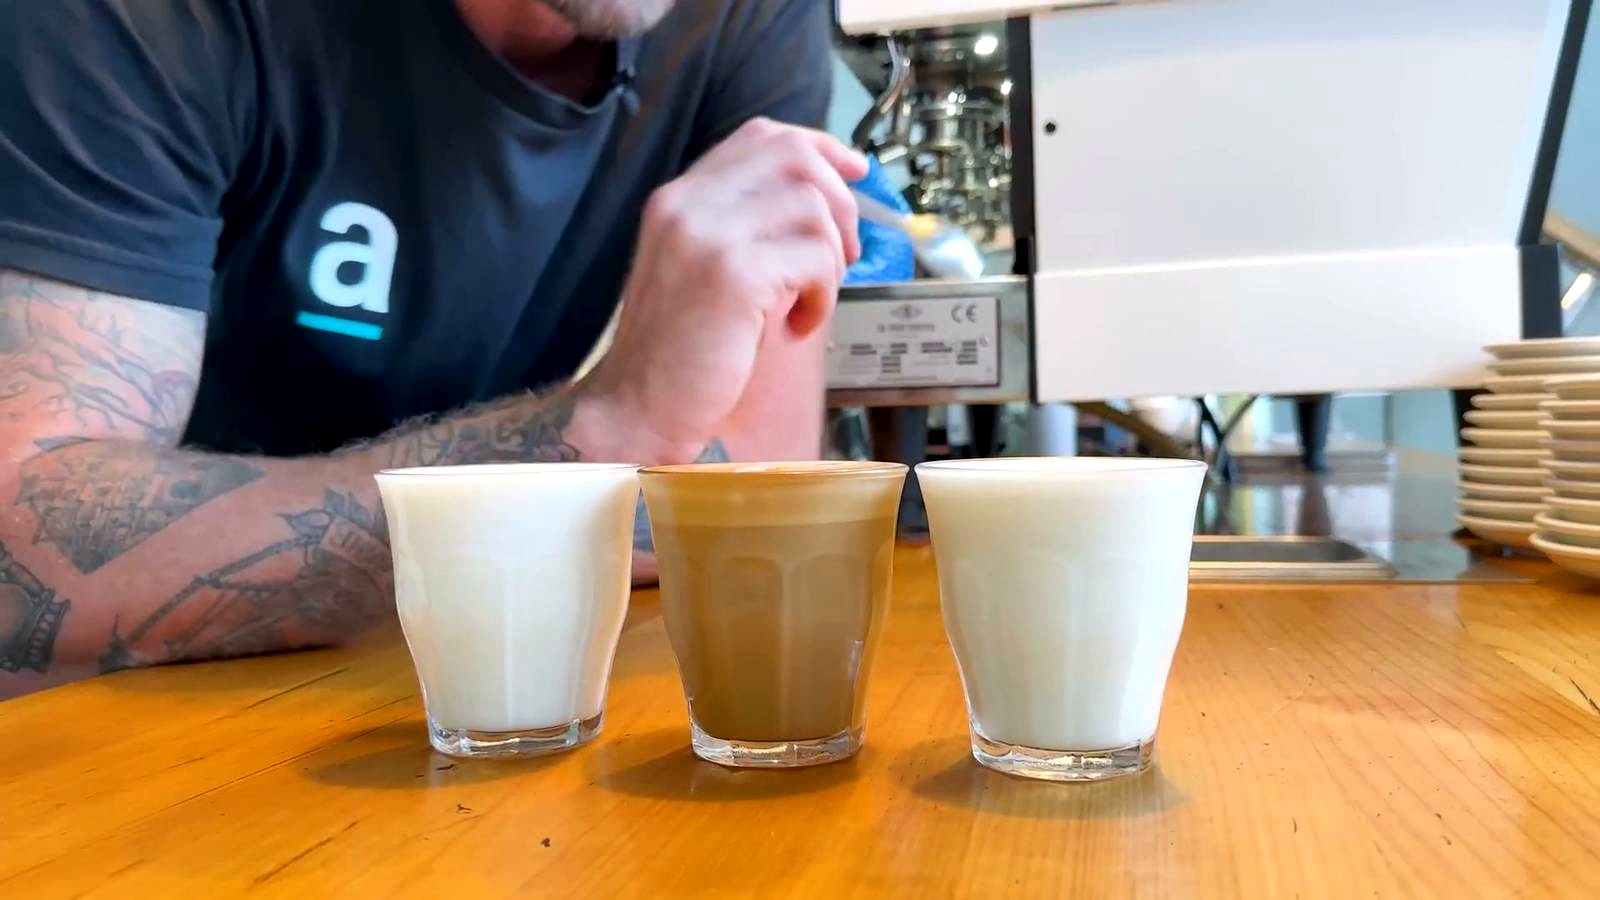
The best sign is visual. Smooth. Glossy. Tight texture. No obvious bubbles. Even the cappuccino should hold itself with more body while still looking polished and creamy.
If the milk sits for a moment, it still shouldn’t turn rough or bubbly. That calm, silky look is the target across all three drinks.
Why this works at home and in a cafe

The technique stays simple enough to repeat anywhere. Use a solid starting setup, pay attention to your angle, time how long you add air, and stop heating based on feel. The machine may change, but those three core ideas stay the same.
That’s what makes this feel less like a trick and more like a habit. Once the texture clicks, coffee at home becomes a lot more satisfying.
FAQ
What milk is best for steaming silky milk?
Full cream milk is the easiest starting point because it has the most protein and gives the best outcome for latte art milk.
Can you use almond milk?
Yes, but it is more challenging than full cream milk.
What size pitcher should you use?
A 600 ml pitcher is used as the starting point, filled to the bottom of the spout.
Why do you purge the steam wand first?
Purging removes water so it doesn’t end up in the milk.
What angle should the steam wand be?
Around 45 degrees, with the tip just under the milk so the milk can spin and form a vortex.
How long should you add air for a flat white, latte, and cappuccino?
As a general rule on a powerful machine: 2 seconds for a flat white, 4 seconds for a latte, and 6 seconds for a cappuccino.
Does that timing change on a home machine?
Yes. On a home machine it may take much longer, such as 8, 12, and 16 seconds.
How do you know when the milk is hot enough?
Keep your hand on the jug and stop when you can no longer comfortably hold it.
What should the finished milk look like?
It should be silky, smooth, glossy, and textured like whipped cream, without large bubbles.
What should you do if bubbles rise to the top?
Tap them out lightly, then integrate the froth back into the milk by spinning or swirling it.
Content Source
Hello, I’m William Lucas. I’ve always been interested in coffee beyond just drinking it — the culture around it, the design of café spaces, the little details that make one place feel polished and another feel creative and personal. I enjoy finding cafés with character, good coffee, and an atmosphere that makes you want to slow down for a bit. On FarziCafe, I write about specialty coffee, café trends, and places in the UAE that feel genuinely worth visiting. If that sounds like your kind of thing, I’d be happy to have you along for the read.